Is your garden tool collection showing signs of wear? Don’t let them get worse! A bit of DIY maintenance can make your tools as good as new. But, where do you start? This guide will show you how to fix common problems with your garden tools, from dull pruners to broken power tools.
Whether you’re a seasoned DIYer or just starting with gardening, learning to maintain your tools is key. It saves time, money, and stress. By cleaning, oiling, sharpening, and storing your tools right, they’ll always be ready for your next project. So, are you ready to improve your tool care and make your gardening tools last longer?
The Importance of Regular Tool Maintenance
Keeping your garden tools in good shape is key to their performance. Regular care can make your tools last longer, saving you from buying new ones often. Also, taking good care of your tools can save you money by avoiding costly fixes or early replacements.
Why Proper Care Extends Tool Life
Regular cleaning, sharpening, and oiling your tools prevent rust and wear. This keeps them working well and lasting longer. It’s a smart way to get the most from your tools.
The Cost Benefits of Preventative Maintenance
Preventative maintenance for your garden tools is a smart choice. It stops problems before they start, saving you from expensive fixes or early replacements. This way, you save money and keep your tools ready for any outdoor task.
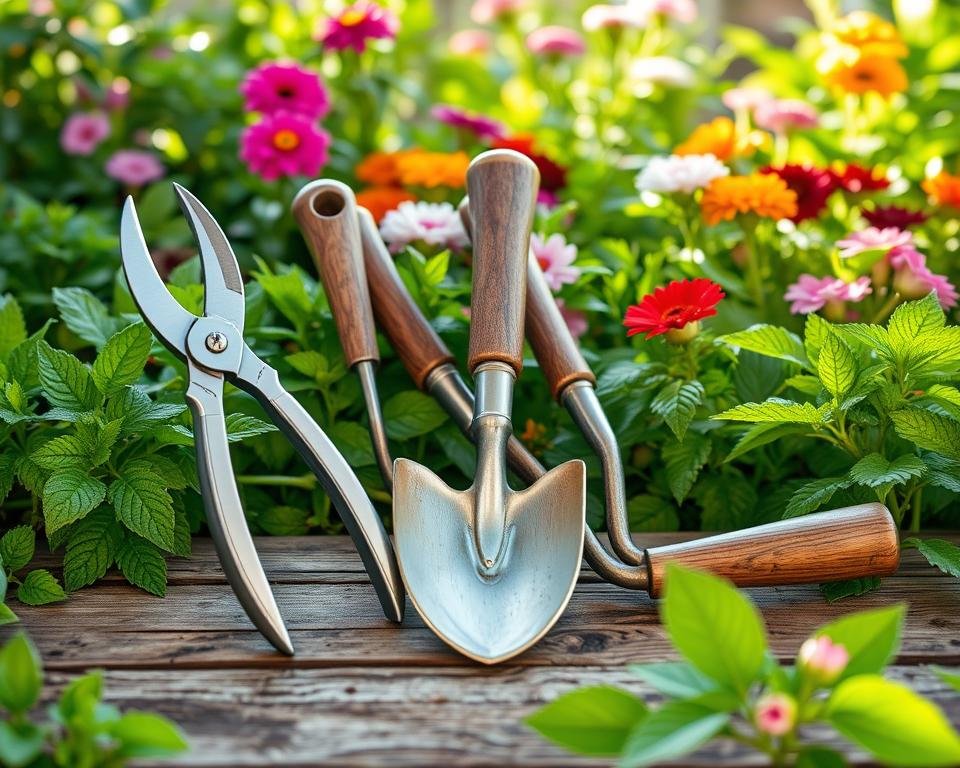
Essential Cleaning and Oiling Routines
Keeping your tools in great shape is key for any DIY project. Cleaning and oiling them regularly is a must. This keeps dirt, debris, and rust away and makes moving parts run smoothly.
Let’s look at the best ways to clean and oil your garden tools and power equipment.
Cleaning Tools
Start by wiping each tool with a clean, damp cloth to get rid of surface dirt. For tough dirt, use a soft-bristle brush and mild soap and water. Make sure to clean every part, especially moving parts and joints. Then, rinse and dry them well before moving on.
Oiling Tools
After cleaning, it’s time to oil your tools. Use a light machine oil or penetrating oil like WD-40 for metal. Don’t use household oils like vegetable or motor oil, as they attract dirt. Just a little oil is needed, and use a clean cloth to wipe it on.
For wooden handles, use a natural oil like linseed or tung oil. This keeps the wood from cracking or splitting. Apply the oil with a clean rag, letting it soak in for a few minutes before wiping off any extra.
| Tool | Cleaning | Oiling |
|---|---|---|
| Garden Shears | Mild soap and water, soft-bristle brush | Lightweight machine oil |
| Lawnmower | Degreaser, stiff-bristle brush | Multipurpose lubricating oil |
| Power Drill | Compressed air, microfiber cloth | Drill bit lubricant |
By sticking to these cleaning and oiling routines, your tools will stay in great shape. This means they’ll last longer and work better for all your DIY projects.
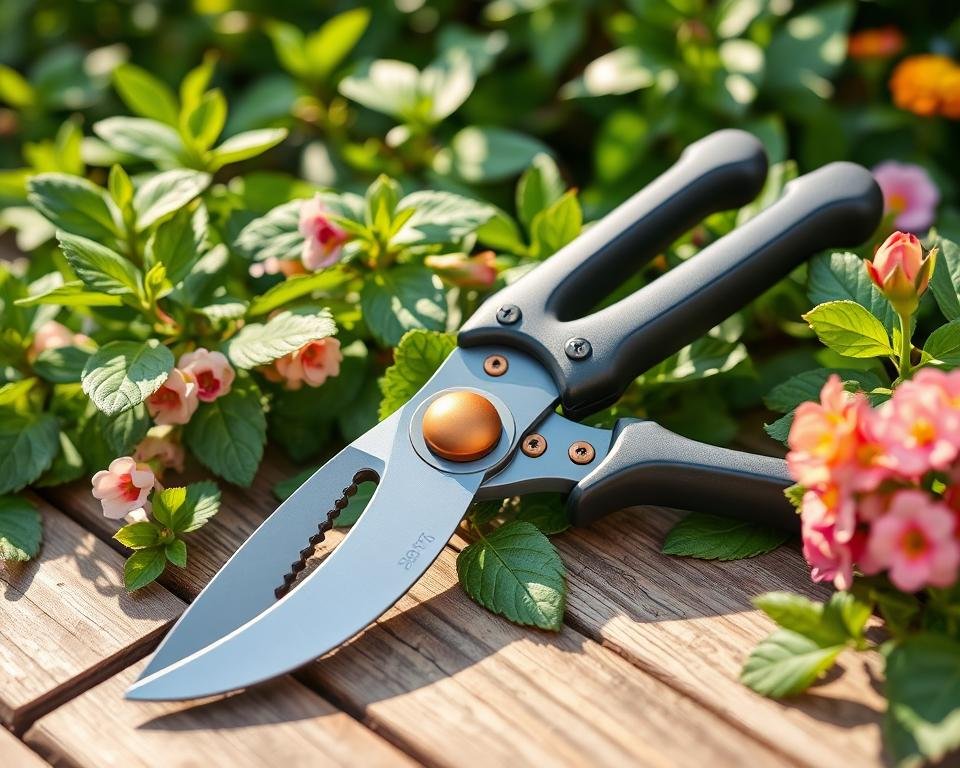
Sharpening Techniques for Cutting Tools
It’s important to keep your cutting tools sharp. This includes pruners, loppers, and lawnmower blades. We’ll show you how to sharpen your garden tools yourself. This way, you’ll get a clean cut every time.
Sharpening Pruners and Loppers
Pruners and loppers help you trim and shape your garden. Here’s how to sharpen them:
- Use a fine-grit sharpening stone or file to sharpen the blades.
- Keep the angle steady, about 20-30 degrees, as you sharpen.
- Use the flat side of the blade to remove any rough spots.
- Make sure the pivot point is well-lubricated for smooth cutting.
Honing Lawnmower Blades
Sharp lawnmower blades give you a clean cut. Here’s how to keep them sharp:
- First, disconnect the spark plug and remove the blade.
- Sharpen the blade with a bench grinder or angle grinder, keeping the angle the same.
- Balance the blade by grinding the same amount on both sides.
- Finally, clean the blade and apply oil to prevent rust.
Regular pruner sharpening and lawnmower blade care are crucial. By sharpening your tools yourself, you’ll make them last longer. You’ll also get professional-quality results every time.
DIY Tool Maintenance: Fixing Common Issues
Even the best tools can have problems sometimes. It might be a power tool that’s not working right or a part that needs to be replaced. Fixing these issues quickly helps your tools last longer. Here, we’ll show you how to fix common power tool problems and replace worn parts.
Troubleshooting Power Tool Problems
Power tools can sometimes act strangely. If your tool isn’t working right, find out why. Issues like an overheating motor, uneven speed, or damaged parts are common.
- Overheating motor
- Inconsistent speed or power output
- Worn-out or damaged brushes
- Faulty switches or triggers
- Malfunctioning batteries or chargers
By checking these problems one by one, you can often fix your tool. Look at the maker’s guide or search online for help with specific issues.
Repairing and Replacing Tool Parts
It’s also key to know how to fix and replace parts. This includes sharpening dull blades, lubricating parts, or fixing damaged cords.
- Sharpening or replacing dull blades or cutting edges
- Lubricating moving parts to reduce friction and wear
- Replacing worn-out brushes, bearings, or other internal components
- Fixing or replacing damaged power cords or switches
By doing these simple tool repair and power tool repair tasks, you can make your tools last longer. This saves you money on tool part replacement later on.

Always put safety first when fixing your tools. Follow the maker’s instructions and wear the right safety gear. This way, you can fix your tools safely and effectively.
Proper Tool Storage and Organization
Keeping your tools in good shape is key to their long life and performance. Storing and organizing them right helps prevent rust and corrosion. By using the best storage and organization methods, you can make your tools last longer.
Protecting Tools from Rust and Corrosion
Rust and corrosion are big threats to your tools. They can damage metal parts, making them less useful. To keep your tools safe:
- Keep them in a dry, controlled area like a garage or shed to avoid moisture.
- Wipe metal surfaces with a cloth and apply oil or rust-preventive coating before storing.
- Choose airtight tool chests or cabinets to keep air and moisture out.
- Use desiccant packs or silica gel to control humidity in storage spaces.
Organizing Your Tool Collection
Organizing your tools makes them easy to find and use. It also helps prevent damage. Here are some tips:
- Use wall-mounted racks or pegboards for tools you use often.
- Get tool chests, cabinets, or bins to organize your tools.
- Label and group similar tools together for easy access.
- Check and adjust your storage as your tool collection grows.
| Tool Category | Recommended Storage Solution |
|---|---|
| Hand Tools | Wall-mounted racks, tool chests, or storage bins |
| Power Tools | Airtight tool chests or cabinets |
| Gardening Tools | Wall-mounted racks, tool sheds, or outdoor storage containers |
By following these tips, you can keep your tools safe from rust and corrosion. This way, they will stay in great condition for many years.
Safety Considerations for Tool Maintenance
When you do DIY tool maintenance, safety is key. Keeping your tools in good shape and using them right can stop accidents. Here are some important safety tips for cleaning, sharpening, fixing, and storing your garden tools.
Wear Protective Gear
Always wear the right personal protective equipment (PPE) when working on tools. This means safety glasses, gloves, and strong shoes to protect your eyes, hands, and feet from harm.
Unplug Power Tools
Before you start any maintenance on power tools, unplug them first. This stops the tool from turning on by accident and hurting you.
Sharpen Carefully
Sharpening tools like pruners or lawnmower blades needs patience and the right method. Hurrying can cause slips and cuts.
Store Tools Properly
Storing tools safely and organized can prevent accidents. Use tool cabinets or racks to keep sharp edges and blades away. Don’t put heavy or big tools in high spots.
By focusing on tool safety and following good tool maintenance safety practices, you can have a safe and successful DIY maintenance routine.

Preventative Maintenance Schedule for Garden Tools
Keeping your garden tools in good shape is key to making them last longer. This guide will show you how to maintain your tools all year round. From spring cleaning to winter storage, we’ve got you covered.
Spring Maintenance Tasks
When spring arrives, it’s time to get your tools ready. Start by cleaning and checking each tool for rust or dirt. Sharpen tools like pruners and lawnmower blades to keep them sharp. Use oil on moving parts to stop them from sticking.
Summer Maintenance Tasks
In the summer, your tools work hard. Clean them after each use to stop rust. Check for loose parts and tighten them if needed.
Fall Maintenance Tasks
As fall comes, prepare your tools for storage. Clean and sharpen all tools. Apply oil to metal parts to protect them from rust.
Winter Maintenance Tasks
In winter, your tools get a break. But it’s a great time for a detailed check. Look for damage and sharpen tools. Apply new oil to keep them ready for spring.
By following a tool maintenance schedule for each season, your tools will last longer. Caring for your tools is a small effort that saves you big in the long run.
Conclusion
Follow the DIY tool maintenance tips in this guide to keep your tools in great shape. Cleaning, sharpening, and storing tools right can make them last longer. This saves you money and hassle.
Start a proactive approach to diy tool maintenance for better tools. This guide helps you with tool repair and tool sharpening. You’ll have tools ready for any task.
Maintaining tools takes time and effort, but it’s worth it. It protects your investment and boosts your work quality. With these tips, your garden and workshop will stay in top condition for years.
FAQ
What are the most important steps for DIY tool maintenance?
For DIY tool maintenance, start with regular cleaning and oiling. Don’t forget to sharpen and store them properly. Taking care of your tools can make them last longer and save you money.
How can I prevent rust and corrosion on my tools?
To stop rust and corrosion, clean your tools well after each use. Dry them completely and apply a light oil or lubricant. Store them in a dry, controlled environment to keep them safe from the weather.
How often should I sharpen my garden tools?
Sharpening frequency depends on the tool and how often you use it. Sharpen pruners, loppers, and lawnmower blades at the start of each season. Or, when you see them getting dull. Sharp tools make every cut clean and efficient.
What are the best practices for storing power tools?
For power tool storage, clean them well, remove batteries or fuel, and keep them dry. Don’t store them in damp places like basements or garages. Also, lubricate moving parts before you store them.
How can I safely perform DIY tool maintenance?
Always prioritize safety in DIY tool maintenance. Wear gloves, eye protection, and other needed gear. Unplug power tools before cleaning or fixing them. Follow the maker’s instructions and work carefully to avoid accidents.
What is the best way to organize and store my tools?
Good tool organization and storage are key. Use tool chests, pegboards, or specific spots for your tools. Store them in a dry, controlled area to prevent rust and damage. Label and group similar tools for easy access.